Antonio Bobadilla
Web designer & developer | Neural Networks Researcher

Web application for farmers
Category: Software Development
Date: April 2021
Web application developed with HTML, CSS and JS, which allows farmers to sell products using an API developed in Node JS with POSTGRESQL.
It has various sections like:
- Index page
- User registration
- Login system
- Profile section
- Categories section
- Products of each category
- Information of each product
- User registered on the platform
- Section of own products
- Profile configuration
Role: Responsible for Front-end development using HTML5, CSS3, and API consumption with JS and Node JS.
Team:
- José Antonio Bobadilla García
- Daniel Flores Rodríguez
- Jonathan Josafat Vázquez Suárez
- Ernesto Chazaro Bravo
HTML
CSS
JS
NODE JS
POSTGRESQL
DOCKER
FIREBASE
CENTOS
Phase 1. Database Design & implementation
The first action that began to be carried out was the design of the database. The relational tables were made depending on what functionalities were going to be present in the system and to analyze if any auxiliary table had to be added. Once the tables were in place, a normalization was carried out in order to be efficient when using the data from the tables. At the end of this process we are left with 6 tables:
- users
- usersData
- location
- product
- categoryProduct
- category
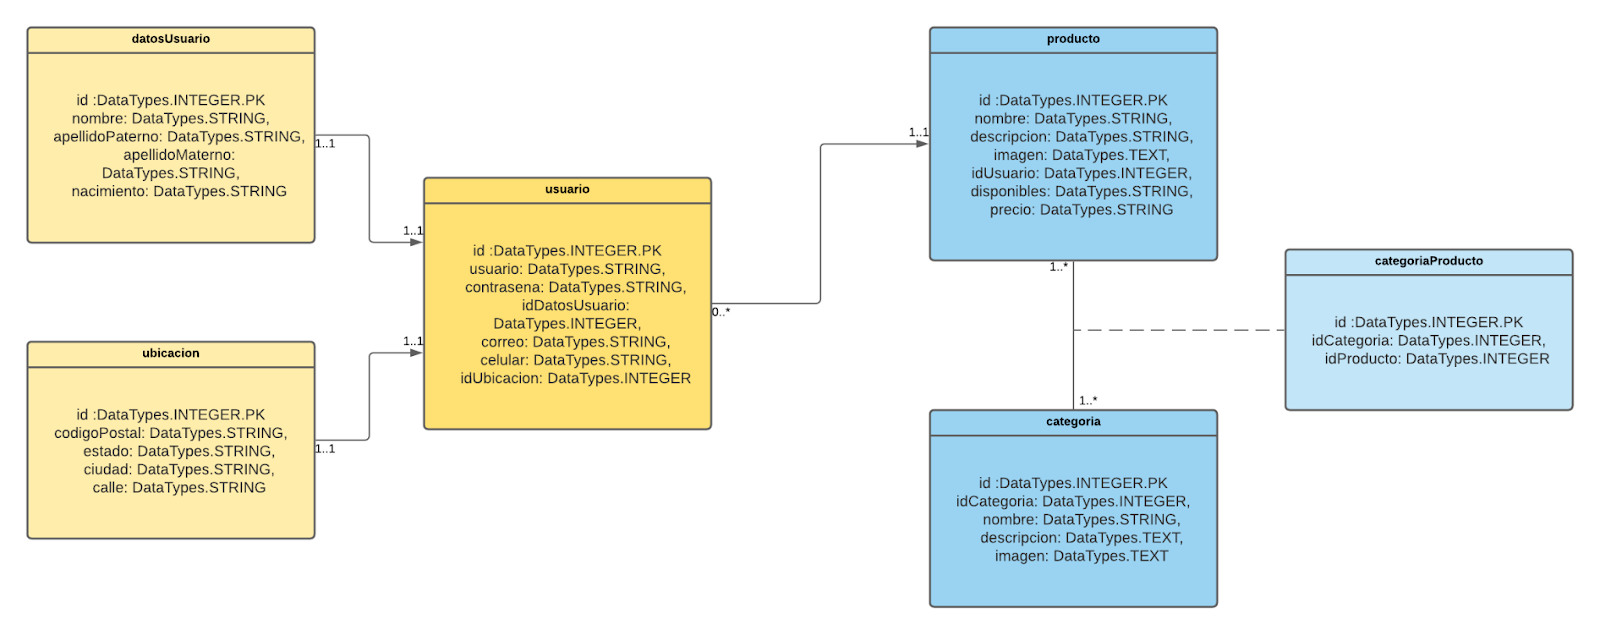
Once we had the design of the database, we proceeded to create it within the centos server using postgresql, obtaining the tables already mounted on the server as seen in the following image.

Phase 2. Designing mockups
Having the design of the database helps us to be able to specifically analyze the functionalities that the user could have within the platform and thus be able to design a user interface that is easy to handle and understand, since we have to take into account who will be the end users:
- On the one hand we have the farmers, who will sell the products of their harvest.
- On the other hand, we have the buyers, who could be from the general public who want to buy a product from these crops.
Understanding who the end users will be, the mockups of the different sections that the system would have were designed using technologies such as Figma , Font Awesome , Coolors , Google Fonts , among others.
The result was the following.

Phase 3. Developing the Front-end
For the development of the front-end, HTML was used as the layout language for the different sections of the application, together with CSS to carry out the entire design of the application, along with JS and AJAX for some functionalities of the same application, such as modifying. some colors or appearances of certain HTML elements. In each page that was developed, codes for responsive web design were also added using media queries in order to make the application accessible from any mobile device.
Index
In the index section of the platform we can see 3 main sections: A banner that was made using a div and an h1 element within it. In the CSS file that links the main page styles, properties like width, height, some background properties were used and the flexbox model was used to position the h1 to the center of the div using properties like justify-content and align-items.
Later we have a section about, in which a title and text simply appear, we use properties such as padding-bottom, border-bottom and font-size to style the title and create the line that is shown below it. The next section that we find is the one with information about colpos campus puebla where the flex-box model was used to put the 2 sections next to each other, taking advantage of the fact that the display: flex positions the elements one next to the other. Later we access the left and right classes of the flexbox children to apply a width of 50% so that each element or div occupies 50% and that they are next to each other.
We have a section element which has a banner class where there is simply a title and an image. To finish we have a footer where we also apply flexbox to align the text that comes inside.

Log in
In this section we only have a parent container which uses flex-box to divide the 2 sections of the page, on the left side we have the login form and on the other side an image with a background between blue and purple. On the left side we have a form tag with 2 inputs: a text type input that has an id called user and another one of type password that has an id: password.
At the bottom we have a section with a div element that contains 2 links: one for registration and another that redirects you when you forget the password to send an email.

Register
In this section, flex-box was also used to divide the divs. Important data will be stored in this registry so that buyers or customers can get in touch with each other.

Profile
In the profile section flexbox was used, along with relative and absolute positions to position certain buttons within the section, along with some icons which were obtained from Font Awesome . The profile will show the user's public information, as well as 2 buttons that redirect to the products of said user and to the profile data configuration.

Rest of sections
For the rest of the sections like categories, products, users, we used the same principles that we described previously. The result is as follows.
Categories
This section will show all the categories available in the system, like his name, photo and description. it should be noted that there is a category called "all categories", in it you will find all the products of all categories.

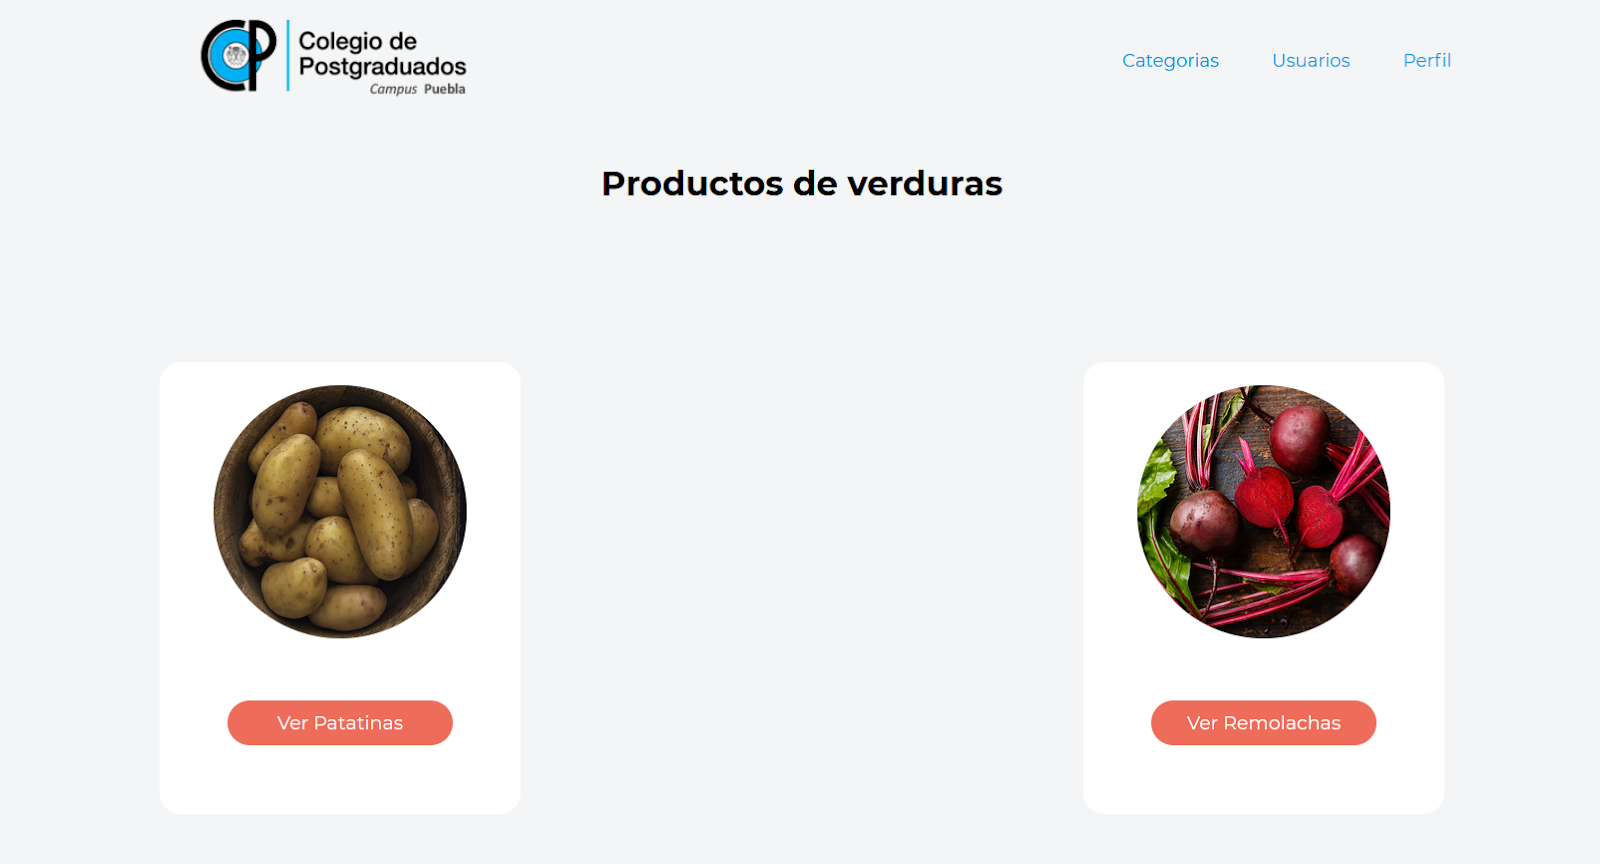
Products of each category
In this section the products of each category will be displayed, as well as the name of the product and its photograph.
Information of each product
Here the information of each product will be displayed, we can see how the photograph, the product name, description, who the seller is, how much stock is left, a seller's cell phone and the price is shown.

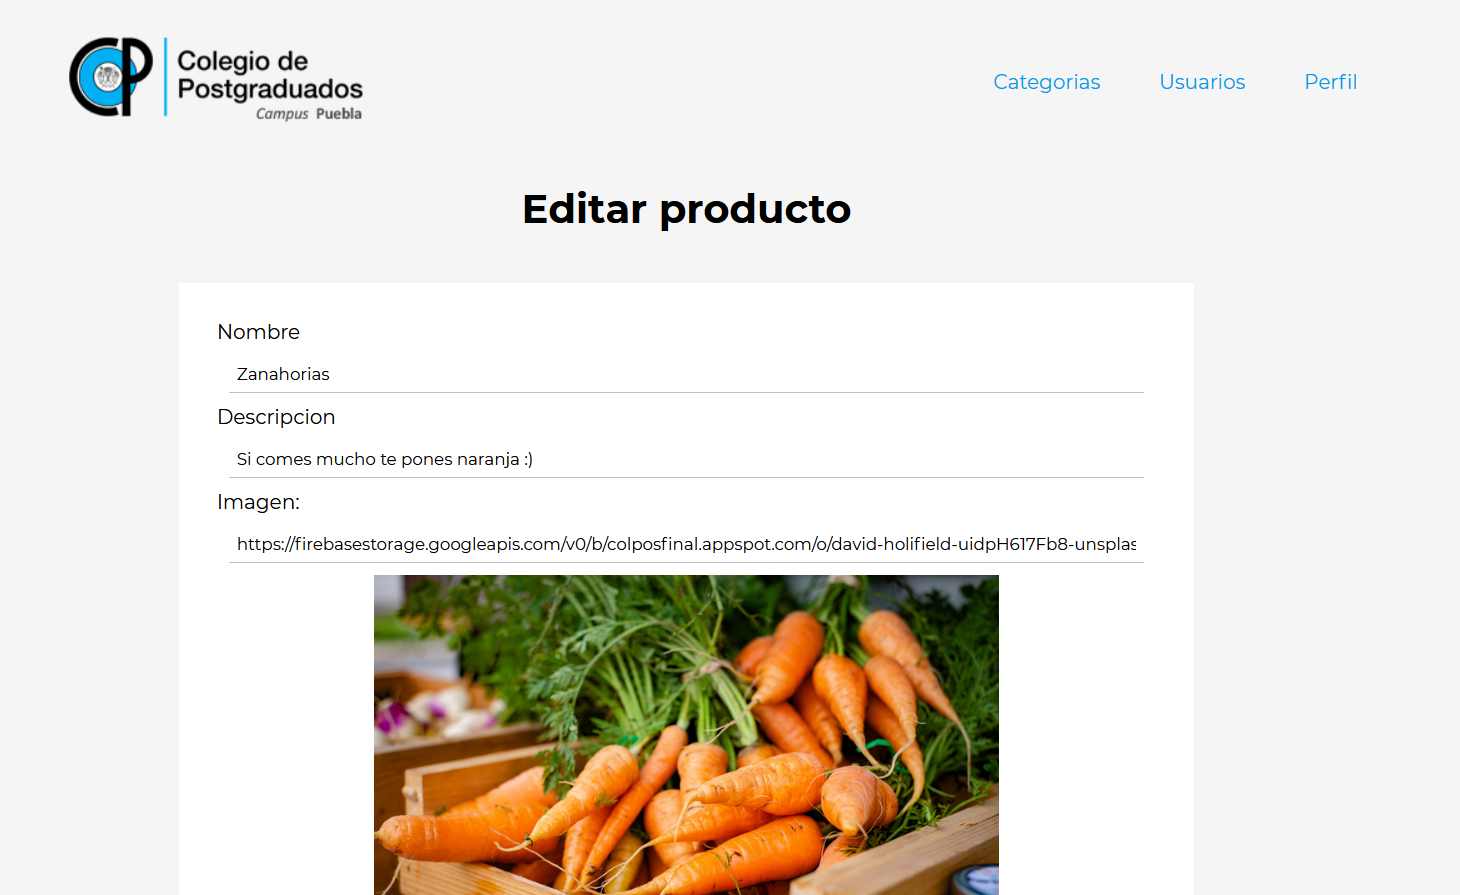
Edit own product
From the profile you can enter the product edition section, where you can modify the information of each product as shown in the image.
Phase 4. Developing backend - API with Node JS
The API was developed using AJAX and JS mainly, which connects to the POSTGRES database on the centOS server. This API has several parts, such as routing, which routes all requests from different URLs, either through the POST or GET method.
Another section that it has is the part of the controllers where all the functions that obtain or insert some field in the database come.
Postgres commands such as findAll, findByPk, create, update are used to perform inserts, selections, updates or deletes in the database.
The aforementioned actions are called through functions in JS which are called through the front when filling out a form or clicking on a button. If it was from a form, through AJAX we access the values of said inputs to pass them to the function that connects with the API to perform the corresponding action in the DB.

To finish the project, the API was published on a specific port of the CENTOS server so that it could be consumed by our JS code from the different sections within the platform.
use of Git for project management
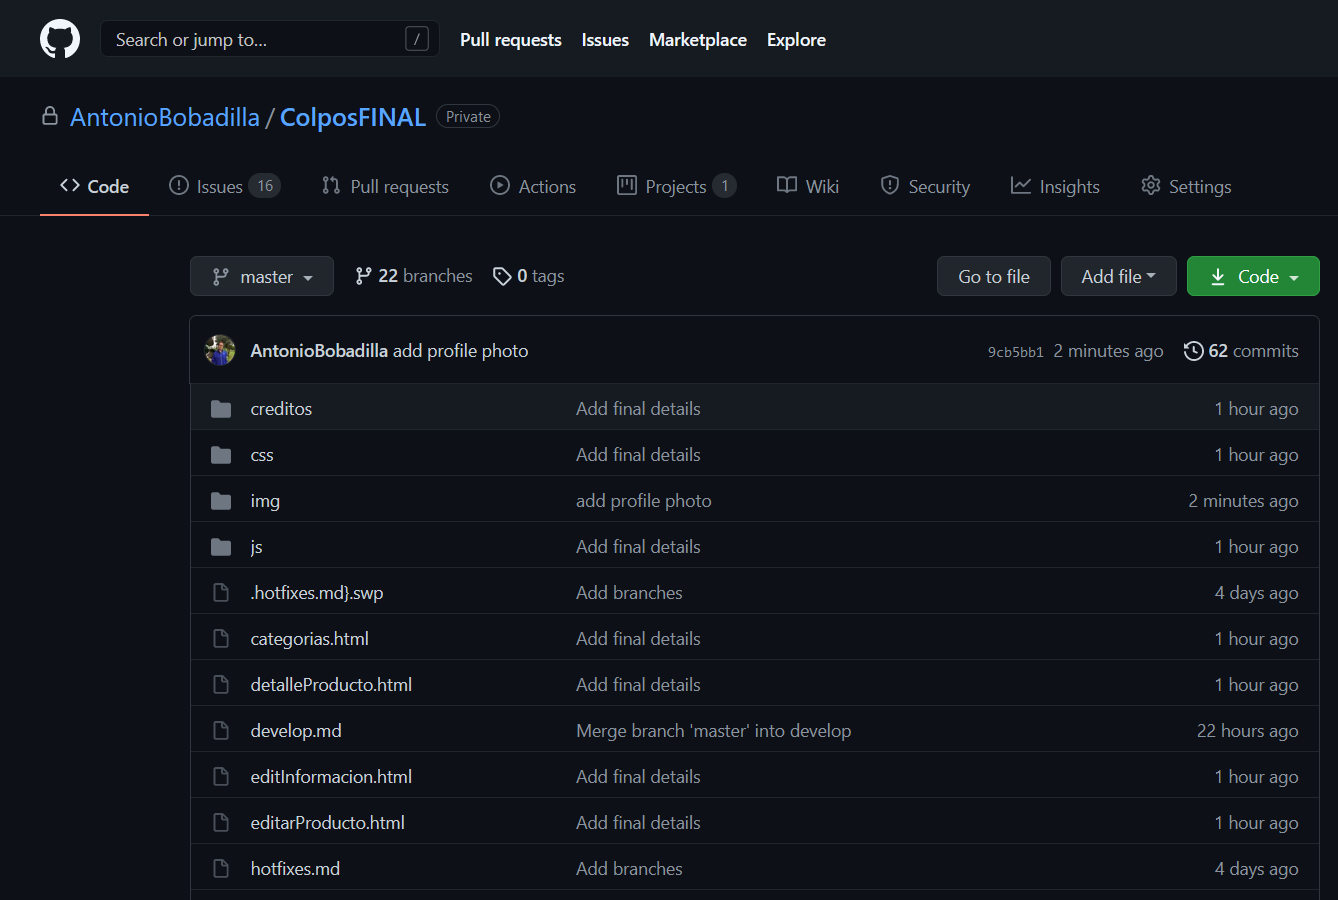
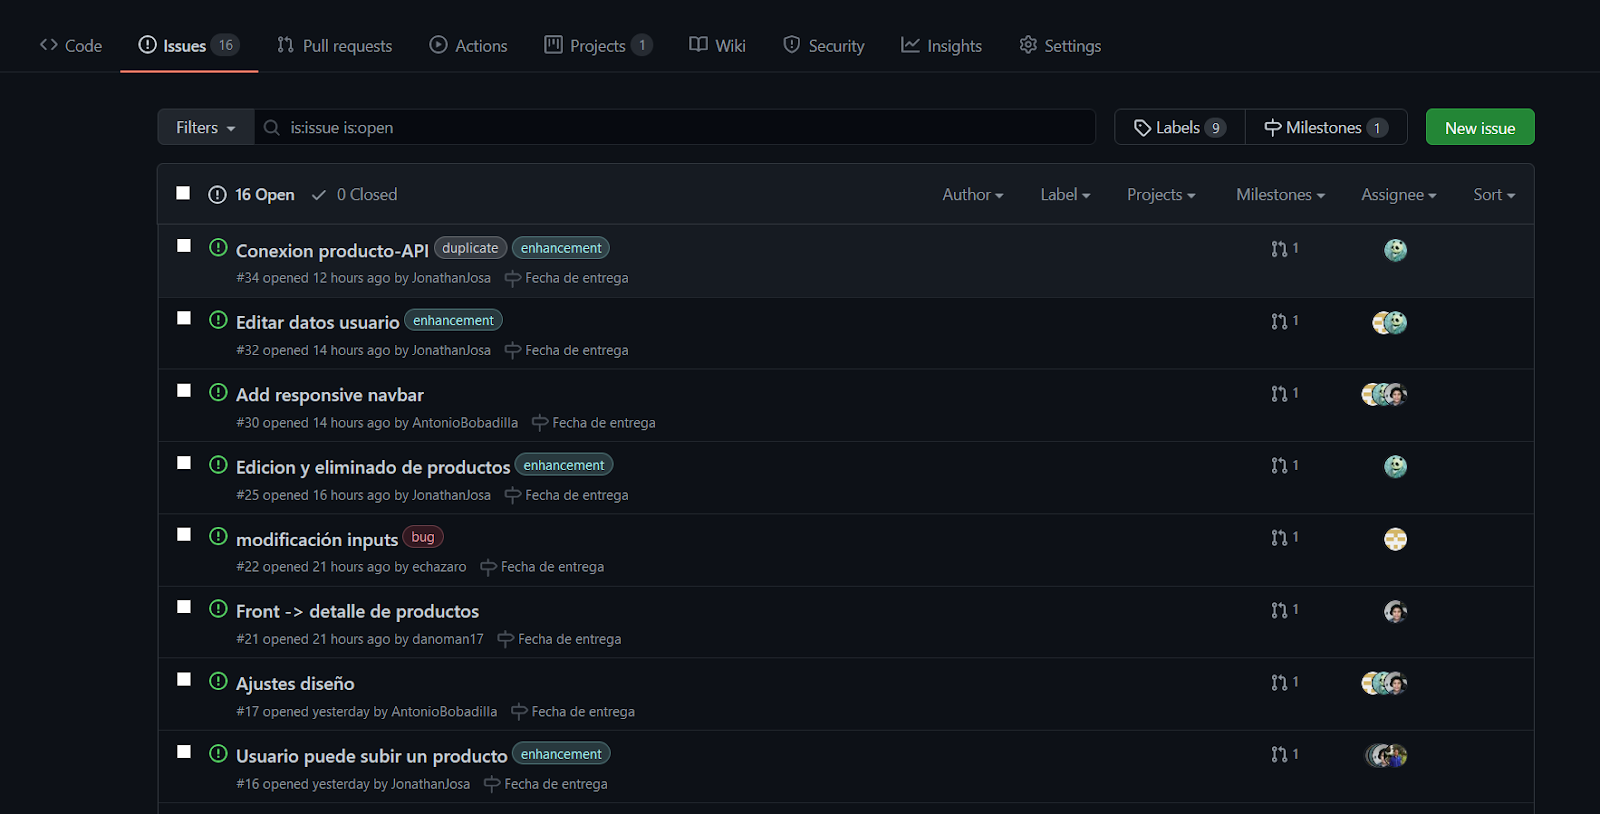
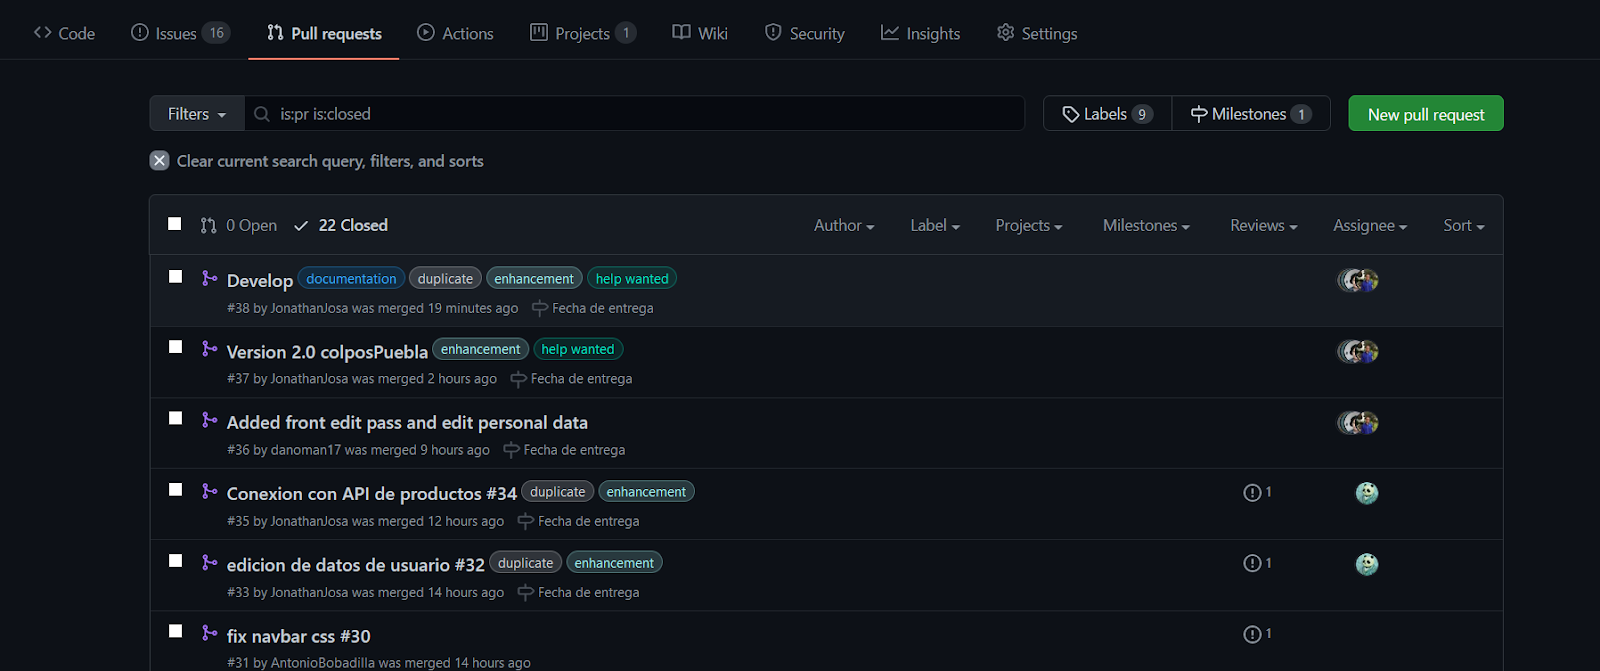
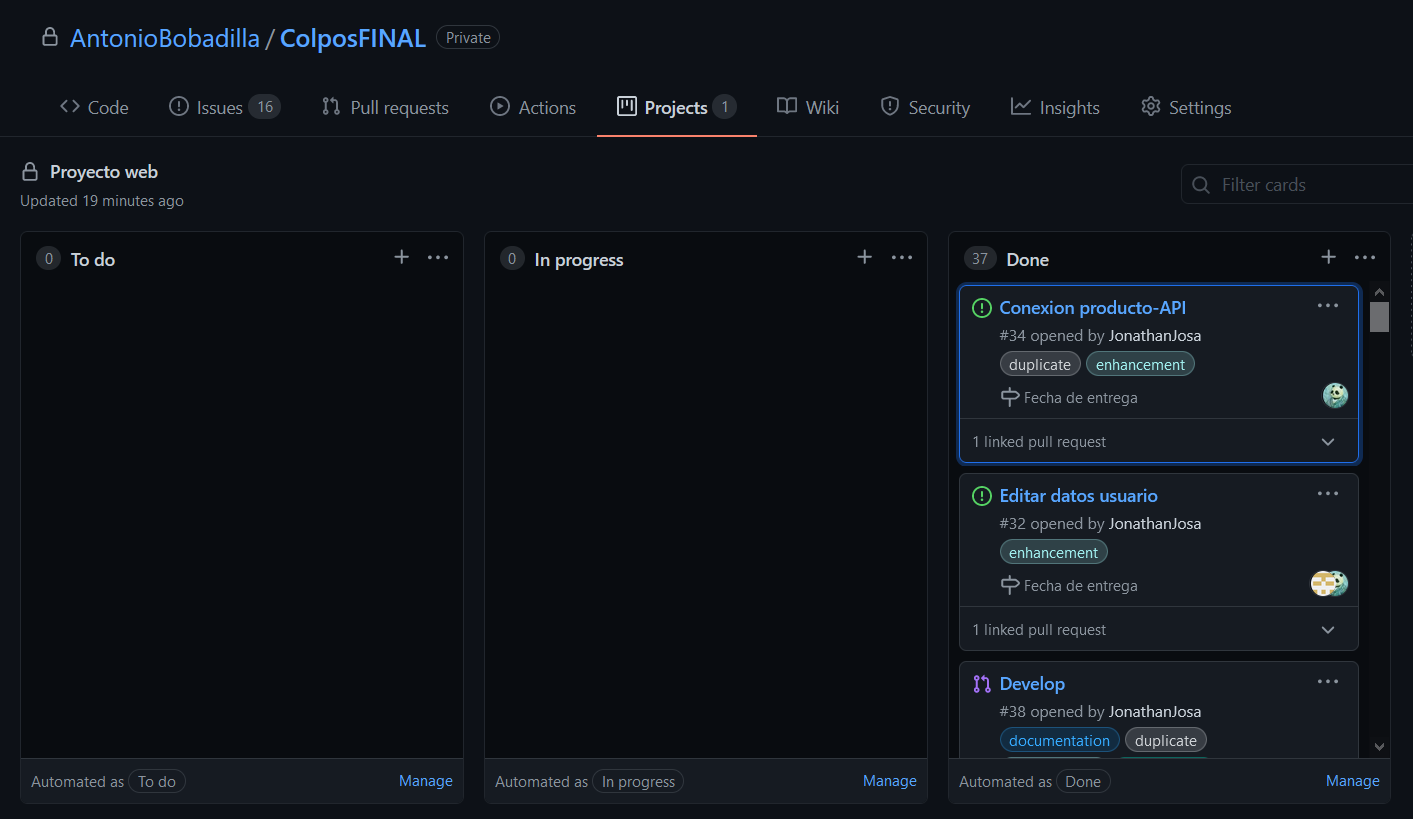
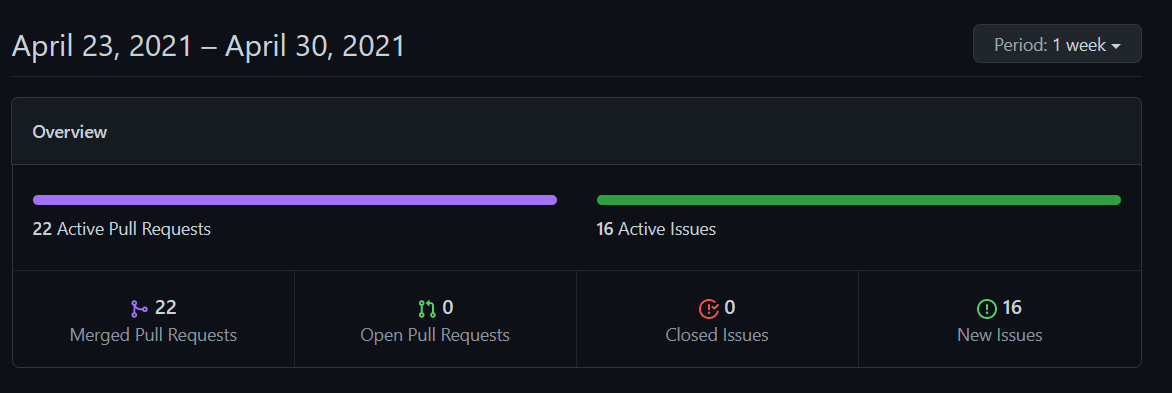
Git was used to manage the different functionalities of the system, as well as branches for each section, issues and automated kanban.
Learnings
In this project, the system had to be deeply analyzed in order to even model the database so that all the modules could interact with each other, sharing information from different tables and fields. Knowledge in web development was also taken into account. I'm sure I got a lot of knowledge about how systems interact with servers and in this case how APIs work. It was necessary to ensure that the system supported all the functionalities among themselves, as well as that the data processing and the queries execute without any errors of any kind, such as data types that do not match, among others.
At the end of this project I have a lot of professional knowledge regarding the creation, management, design and maintenance of large and scalable projects. As well as direct knowledge of backend development, understanding how a server makes requests and how these requests should be handled to display the information correctly.